Let's quickly go over the project :)
Pitivi ~Cut Mode
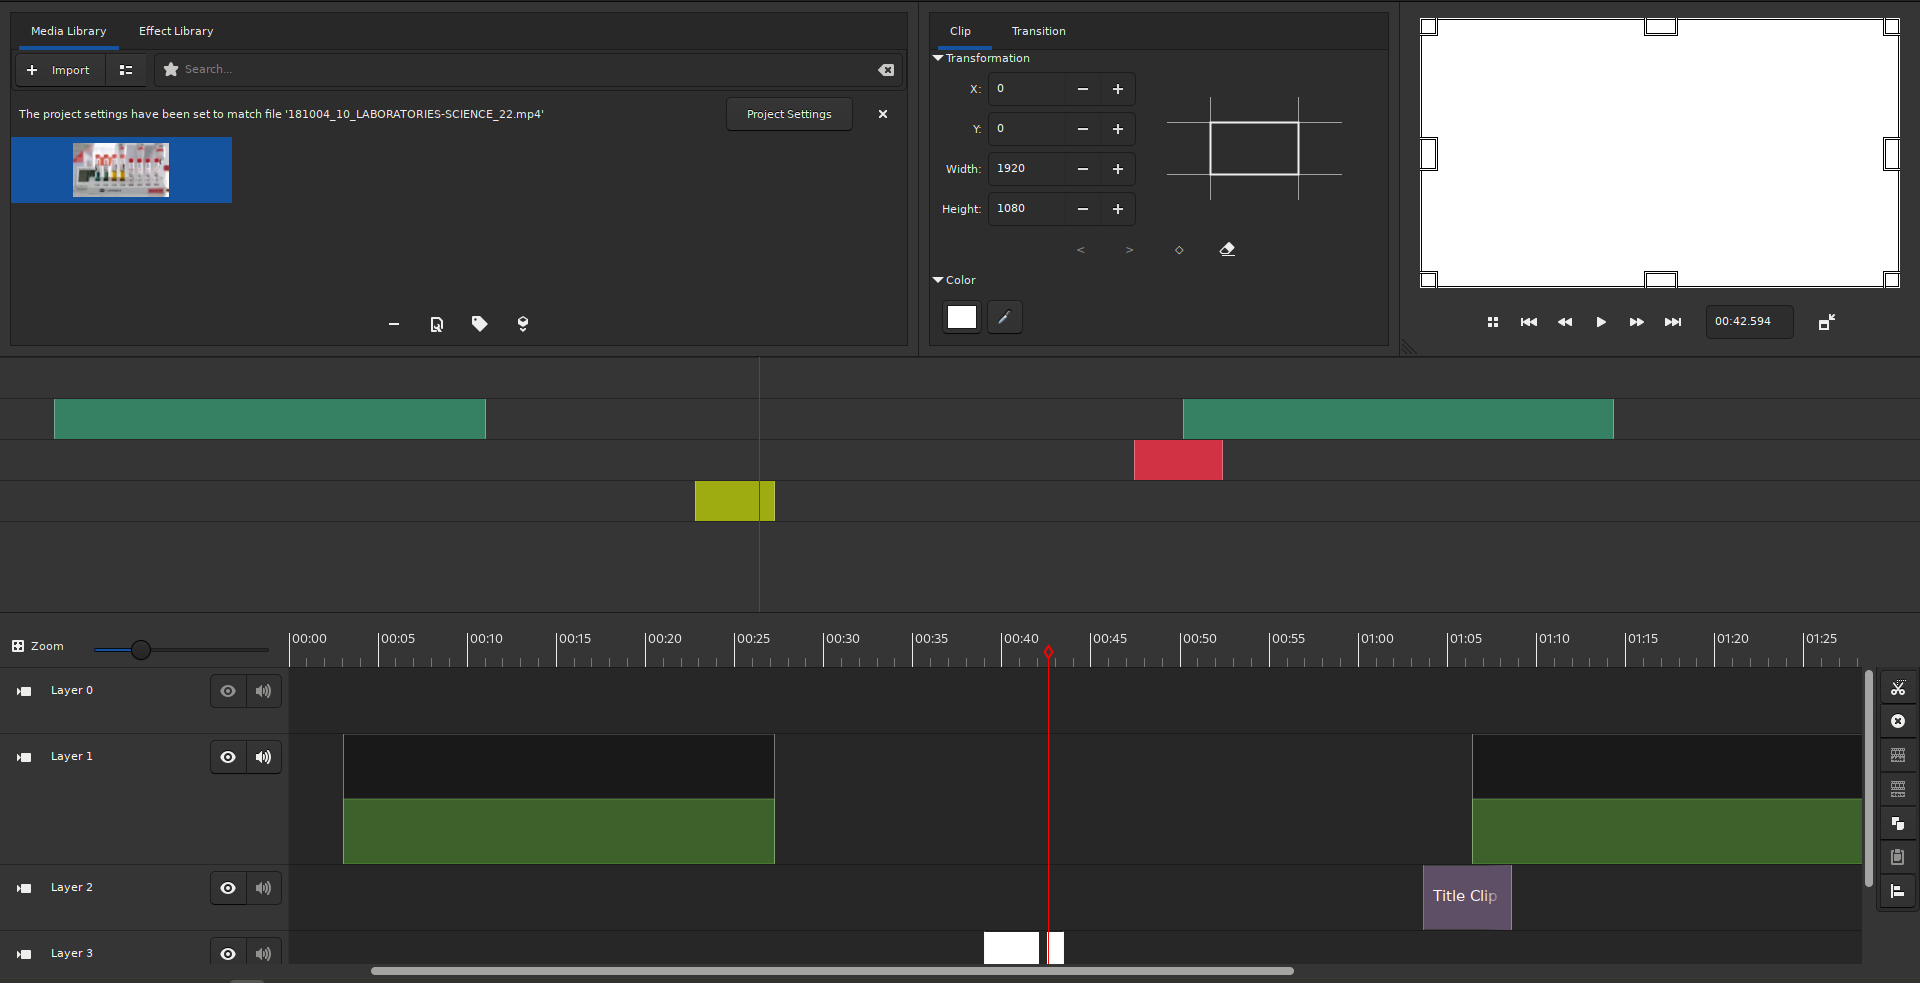
The idea for this project is to have two timelines to ease certain tasks and increase productivity. This introduces a non-zoomable Timeline which simplifies trimming, cutting, and rearranging clips in sync.
You can also watch the GUADEC Intern Lightening Talks 2021 where I discuss the "Cut-Mode" project with fellow contributors and community members.
Benefits?
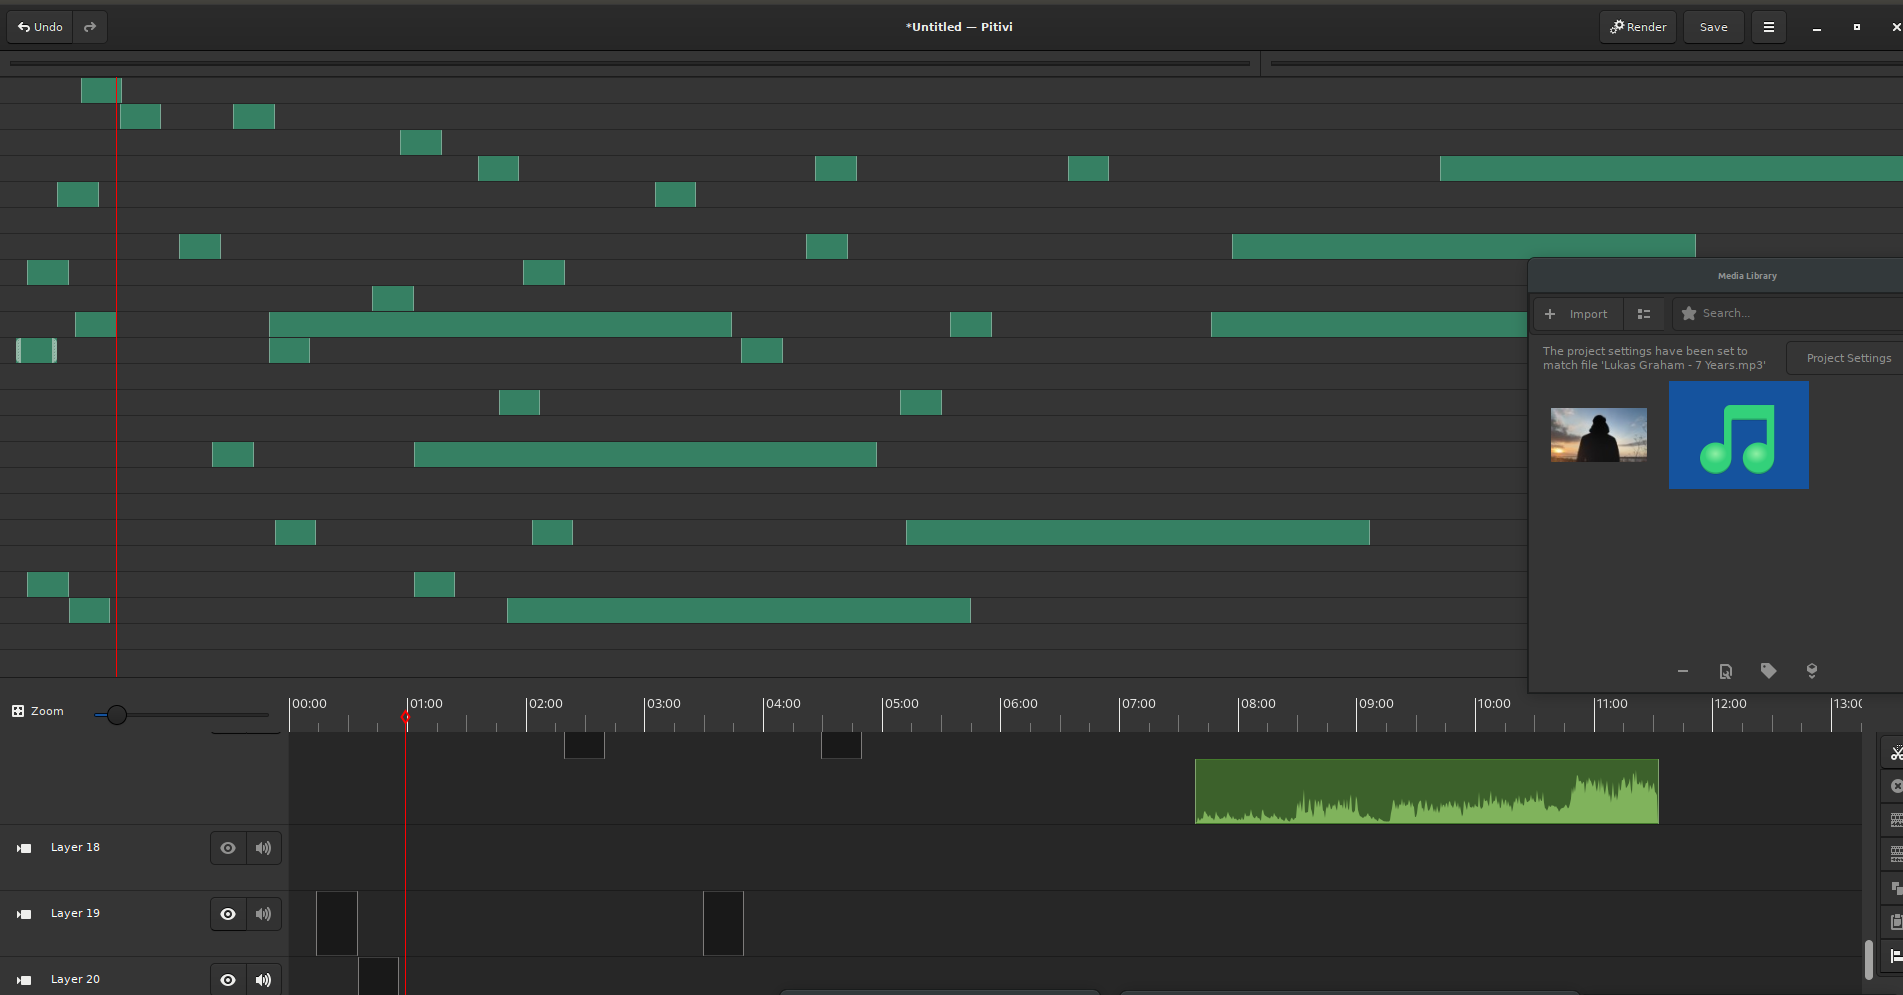
For longer movies, using a zoom feature to see the entire timeline and scroll for editing consumes a lot of time. The solution is a zoom-fitted timeline with slim layers ensuring all tracks remain visible. We'll call the zoom-fitted timeline the Mini Timeline and the other simply the Timeline.
Longer Duration Timeline?
With scaled, reduced-size elements on the Mini Timeline, you can easily track changes as the timeline grows.
As elements are added or removed, the Mini Timeline scales accordingly, keeping the entire timeline in view.
Many Layers to Work With?
Pitivi allows you to undock views to separate screens, expanding the Mini Timeline so that all layers are visible simultaneously.
Let's Dive Deep!
Consider the scenario where precise edits require zooming in at a specific position, making changes, then zooming out to continue. This process wastes valuable time. The new Mini Timeline lets you maintain a zoomed view while tracking your position—with Playhead Locked mode (enabled via Alt+P). The timeline scrolls horizontally to center the playhead.
The Mini Timeline also makes rearranging clips easier. Instead of multiple steps to relocate a clip, simply drag it on the Mini Timeline, which always displays the entire duration.

What Else?
You can perform all actions on the Mini Timeline that you would on the conventional Timeline, such as dragging clips, applying transitions, and dropping effects.
Apply transitions and drop effects seamlessly.
Finally, when you're done, hide the Mini Timeline by pressing Alt+C.
Implementation
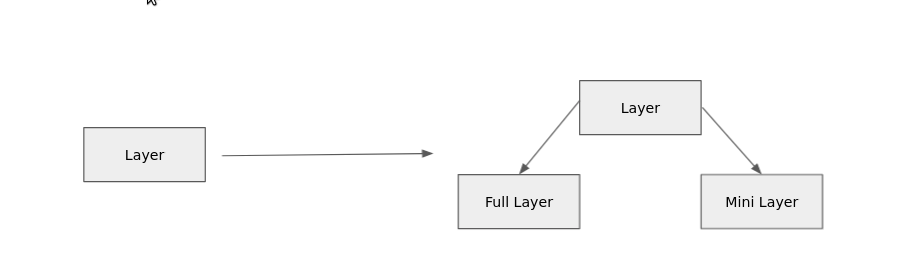
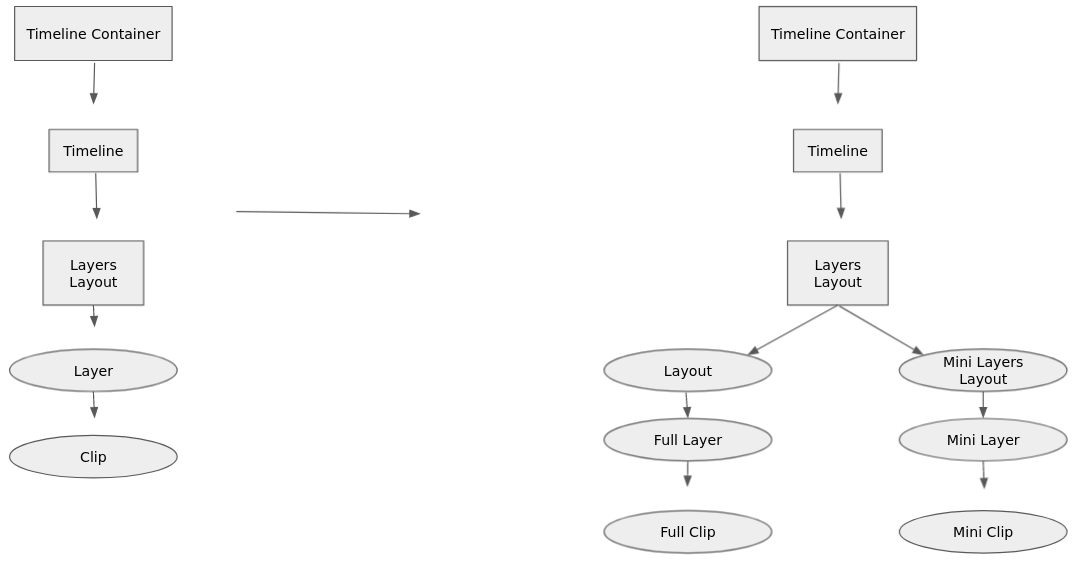
Here's a high-level overview of the project's structure. The Layer class has been refactored into two implementations—Full Layer and Mini Layer—while the Clip class has been similarly subclassed.
Related classes have also been updated. The Timeline architecture now reflects these changes:
Code Snippets
1. The Mini Timeline remains zoom-fitted regardless of the zoom level. The Mini versions of classes do not subclass Zoomable; instead, they compute the optimal ratio to fit the timeline into view. Below is the method for calculating this ratio:
def calc_best_zoom_ratio(self, mini=True):
    """Returns the zoom ratio so that the entire timeline is in (mini)view."""
    duration = 0 if not self.ges_timeline else self.ges_timeline.get_duration()
    if not duration or (mini and not self.mini_layout_container.get_visible()):
        return self.get_parent().get_allocated_width()
    timeline_duration = duration + Gst.SECOND - 1
    timeline_duration_s = int(timeline_duration / Gst.SECOND)
    self.debug("Adjusting zoom for a timeline duration of %s secs", timeline_duration_s)
    layout = self.mini_layout if mini else self.layout
    zoom_ratio = layout.get_allocation().width / timeline_duration_s
    return zoom_ratio
2. The Mini Timeline's clip representations are simplified – color-filled rectangles (with colors based on clip type) represent clips.
class MiniPreview(Gtk.Layout):
    """Mini Clip previewer to draw color-filled mini clips."""
    def __init__(self, color):
        Gtk.Layout.__init__(self)
        self.get_style_context().add_class("MiniPreviewer")
        self.color = color
        self.props.height_request = MINI_LAYER_HEIGHT

    def do_draw(self, context):
        rect = Gdk.cairo_get_clip_rectangle(context)[1]
        context.set_source_rgb(*self.color)
        context.rectangle(0, 0, rect.width, rect.height)
        context.fill()
All code changes are available on MR !397.
Implementing the Mini Timeline was made easier thanks to valuable mentor feedback and a clean, extensible codebase.
That's it for now. I will update this post with more details as they come.
Have a great day! Will update you soon. Thanks!